How Do You Replace a Bathtub Drain?
Is it time to replace that old tub drain? Maybe you want to replace the old trip-lever drain stopper with something more modern and convenient. No matter the reason, these easy-to-follow steps explain how to replace a bathtub drain. From gathering tools to installing the new drain, you can successfully replace your bathtub drain yourself in less than an afternoon with these simple steps.
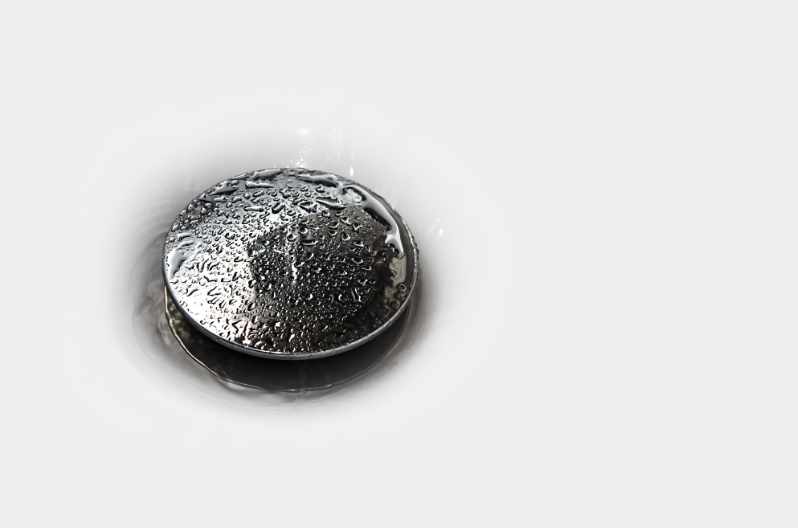
Find Out What Type of Bathtub Drain Stopper You Have
The bathtub drain stopper is the most recognizable part of the entire drainage system, and it’s important to know what type of stopper you have in order to properly remove it.
There are four main types of drain stoppers, including trip lever drains, push-pull drains, toe-touch drains, and lift and turn drains. Each type operates differently, so it’s important to choose the right removal technique based on your particular stopper.
Here are the most common types of bathtub stoppers:
- Toe-Touch Drain Stopper: It opens and closes by lightly pressing the stopper with your toe. Also called spring-loaded or pop-up stoppers, they are convenient and easy to install.
- Push-Pull Drain Stopper: As you might expect, this style closes by pushing and opens by pulling. Also called foot plug stoppers, they are very durable and simple to remove and replace.
- Lift-and-Turn Drain Stopper: This opens by turning clockwise and lifting the stopper out of the drain. It closes with a turn in counterclockwise.
- Flip Lever Drain Stopper: This stopper has a lever on the stopper itself. Also called a flip-it stopper, a silicon o-ring or rubber gasket expands to close the drain when the switch is flipped.
- Trip Lever Drain Stopper: These stoppers have a switch or lever near the overflow drain. Flipping the lever moves a rod that opens or closes a plunger inside the drain. These are one of the most difficult styles of drain to remove and replace.
- Pop-Up Drain Stopper: Similar to the trip lever, there is a switch on the overflow plate. When the lever is moved, a rod moves up or down. Instead of moving a small plunger, it lifts or lowers a pop-up drain plug that is similar to how many bathroom sinks operate. This is another of the more complicated drain types to remove and replace.
You can remove most stoppers on your own. However, you should hire a plumber if the drain is old or does not seem to match the styles listed below. Plumbers have the tools and training to quickly and carefully remove the drain stopper without damaging your plumbing.
How To Replace a Bathtub Drain
Replacing a bathtub drain can be a bit of a challenge, but it’s a doable DIY project with the right tools and steps. Here’s a step-by-step guide to help you replace a drain in your bathtub:
Materials you will need:
- Replacement drain assembly
- Drain removal tool
- Adjustable wrench
- Screwdriver
- Adjustable pliers
- Plumbers putty
Step 1: Remove the Stopper
The process for removing the tub stopper varies depending on the style of drain stopper you have. In most cases, you need to unscrew a portion of the stopper to reveal a locking screw or nut that attaches the stopper assembly to the drain.
For toe-touch stoppers, open the stopper and turn the stopper cap counterclockwise to unscrew it. Most push-pull and lift-and-turn stoppers have a small knob on top. Open the stopper, then unscrew the knob.
With the cap or knob out of the way, you should see either a screw or nut that holds the stopper assembly in place. Depending on the stopper, use either a screwdriver or adjustable wrench to remove the locking screw or nut on the inter mechanism.
A flip-it or flip-lever drain stopper is the easiest to remove. Simply open the drain, then pull the stopper out. If you have a hard time getting a good grasp on the drain plug, grab the flip switch with your adjustable wrench.
Trip levers and pop-up drain stoppers are the most complicated to remove. Open the drain, then unscrew the overflow plate. Carefully pull the faceplate away from the tub.
For trip lever styles, this will pull out the trip lever rod and eventually the stopper itself. With pop-up styles, it will only remove the rod. You will need to remove the pop-up stopper separately. If you cannot get it out of the drain, use a flathead screwdriver to pry it free.
Unfortunately, older models are often coated in soap build-up and other grim that make it hard to remove from the overflow pipe. Once you can see the rod, grab it with an adjustable wrench or pliers. This will give you better leverage to wiggle the stopper rod free.
Step 2: Remove the Drain Flange
After removing the drain stopper, you will need to remove the old flange. Slip the drain removal tool into the drain opening, then turn counterclockwise to remove it.
The removal tool fits around the drain crossbar and acts like a sort of screwdriver to remove the flange. It is also called a tub drain wrench. Despite the name, it is used when removing a flange and installing a new one.
However, unscrewing the flange can take a lot of force in older drains. For added leverage, slide a screwdriver through the drain removal tool and use it as an extra handhold as you unscrew the drain.
Once the drain spins freely, use your pliers or adjustable wrench to pull it out of the drain pipe.
Step 3: Clean the Drain Opening
Before installing the new drain assembly, clean the drain opening thoroughly to remove any debris or old plumber’s putty.
Step 4: Apply Plumber’s Putty
Apply a thin layer of plumber’s putty around the underside of the new drain assembly flange. Be sure to cover the entire flange with a continuous ring of putty.
Step 5: Install the New Drain Assembly
Place the new drain assembly into the drain opening and twist it clockwise until it is snug. Then use the drain removal tool to secure it in place. Be careful not to over-tighten, as this can damage the drain assembly or drainpipe. Follow the instructions for your new drain when installing the stopper.
Step 6: Test the Drain
Fill the bathtub with a small amount of water and check for any leaks around the new drain assembly. If there are no leaks, you’re done! If there are leaks, you may need to tighten the drain assembly further or remove it and reapply the plumber’s putty.