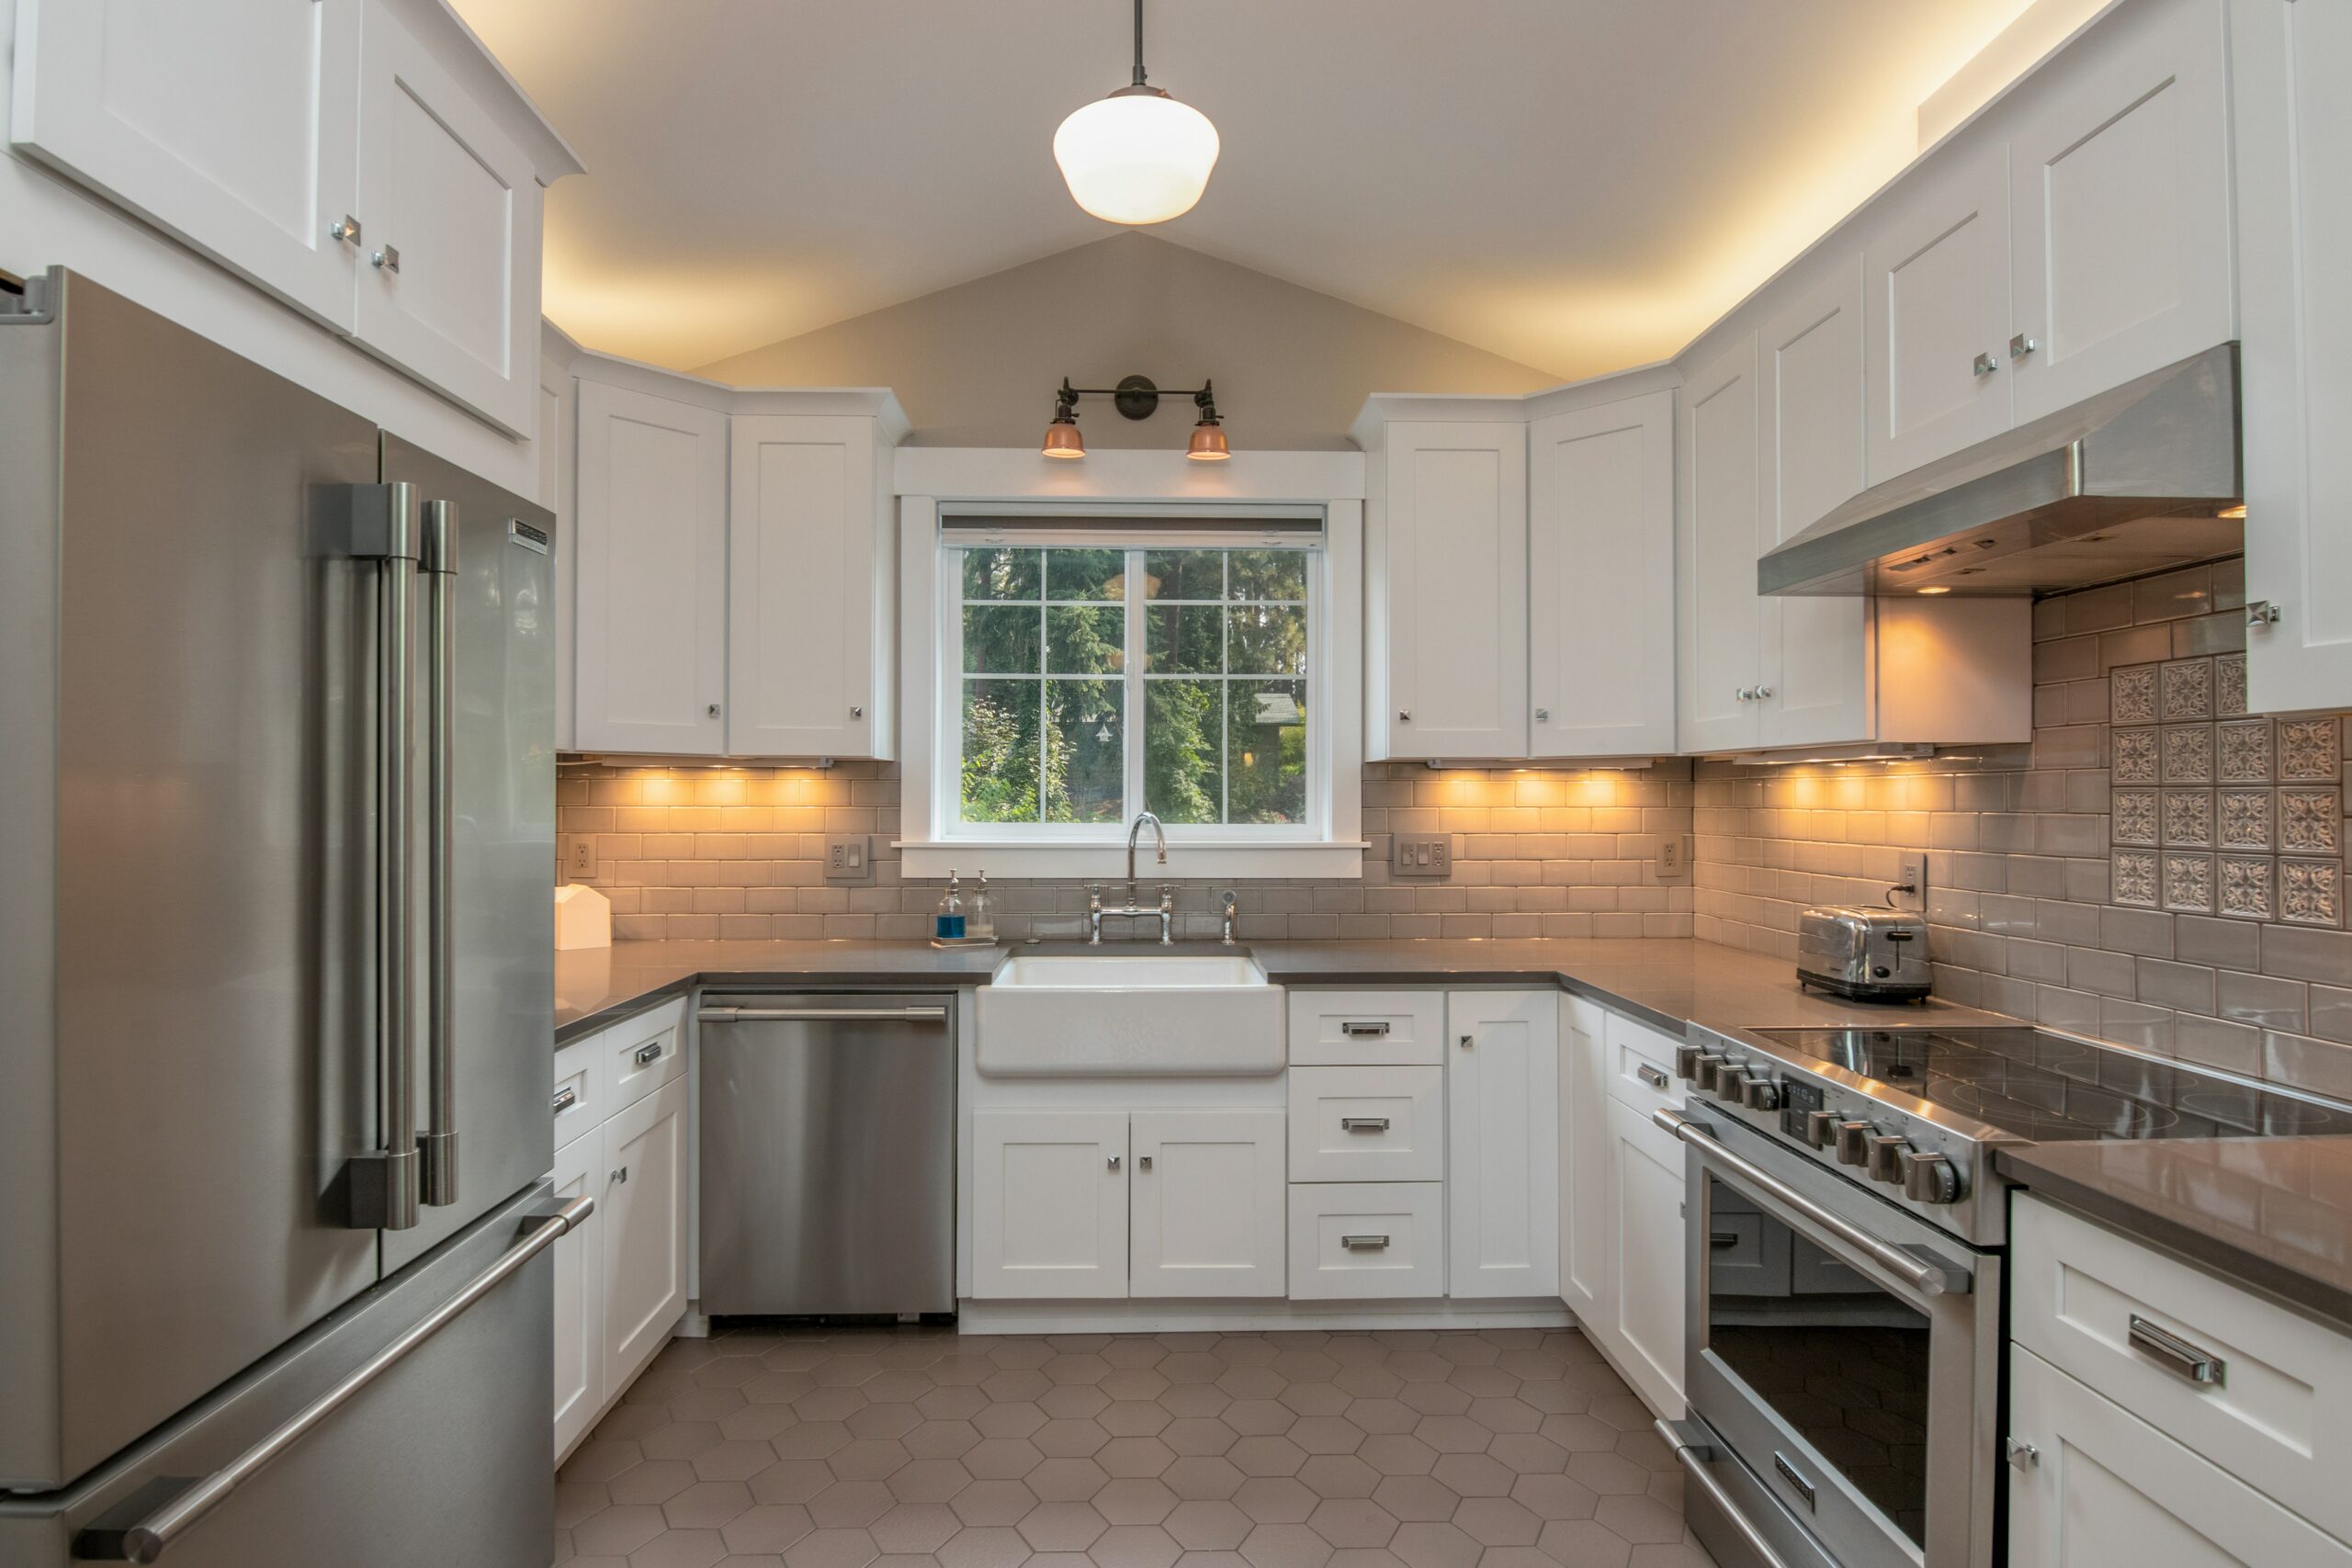
How to Refinish Kitchen Cabinets: A Step-by-Step Guide
Refinishing kitchen cabinets can breathe new life into your kitchen without the expense of a full remodel. Whether you’re looking to update outdated cabinets, change their color, or simply refresh their appearance, refinishing is a cost-effective and rewarding DIY project. This comprehensive guide will take you through the process step-by-step, covering everything from preparation to finishing touches.
Step 1: Evaluate Your Cabinets
Before you begin, assess the condition of your cabinets. Determine whether they are suitable candidates for refinishing based on their structural integrity and current finish. Cabinets with extensive damage or structural issues may require more extensive repairs or replacement.
Step 2: Gather Your Supplies
To refinish your kitchen cabinets, you will need the following supplies:
- Screwdriver or drill (to remove hardware)
- Drop cloths or plastic sheeting
- Painter’s tape
- Sandpaper (medium and fine grit)
- Tack cloth or damp rag
- Wood filler (if needed)
- Wood stain or paint
- Paintbrushes or foam rollers
- Polyurethane or clear coat (optional for added durability)
- Gloves, safety goggles, and a respirator mask (for safety)
Ensure you have enough space to work and that your workspace is well-ventilated.
Step 3: Remove Cabinet Doors and Hardware
Start by removing all cabinet doors, drawers, and hardware (such as handles and hinges). Use a screwdriver or drill to carefully unscrew hinges and handles. Place all hardware and screws in labeled bags or containers to keep them organized for reassembly.
Step 4: Clean and Prepare the Surfaces
Lay down drop cloths or plastic sheeting to protect surrounding surfaces from dust and debris. Clean the cabinet surfaces thoroughly with a mild detergent and warm water to remove grease, grime, and residue. Once dry, use painter’s tape to protect walls, countertops, and floors from accidental drips or splatters.
Step 5: Sanding
Use medium-grit sandpaper (around 100-150 grit) to lightly sand the cabinet surfaces. This step helps to roughen the existing finish and promote better adhesion of the new stain or paint. Focus on areas with existing finishes or imperfections. After sanding, wipe down the surfaces with a tack cloth or damp rag to remove dust.
Step 6: Fill and Repair
Inspect the cabinets for any dents, scratches, or holes. Use wood filler to fill these imperfections, following the manufacturer’s instructions for application and drying times. Once dry, sand the filled areas smooth with fine-grit sandpaper (around 220 grit) to ensure a seamless surface.
Step 7: Apply Stain or Paint
Now comes the creative part – applying the stain or paint to achieve the desired look for your cabinets:
For Staining:
- Stir the stain thoroughly before use.
- Using a brush or cloth, apply an even coat of stain following the wood grain.
- Allow the stain to penetrate for the recommended time (typically 5-15 minutes).
- Wipe off excess stain with a clean cloth.
- Allow the first coat to dry completely before applying additional coats for deeper color.
For Painting:
- Prime the cabinets with a high-quality primer suitable for your chosen paint type.
- Once dry, apply paint evenly with a brush or foam roller. Use long, smooth strokes for a professional finish.
- Allow the first coat to dry completely before applying additional coats as needed for full coverage.
Step 8: Apply Clear Coat (Optional)
For added durability and protection, consider applying a clear coat of polyurethane or a similar protective finish once the stain or paint has dried completely. This step helps to seal the cabinets and provides a smooth, glossy finish.
Step 9: Reassemble Cabinets and Hardware
Once the stain or paint and clear coat (if used) have dried thoroughly according to manufacturer’s instructions, reattach cabinet doors, drawers, hinges, and hardware. Use a screwdriver or drill to secure hinges and handles back into place. Adjust hinges if necessary to ensure proper alignment and functionality.
Step 10: Final Touches and Cleanup
Inspect the cabinets for any touch-ups or areas that may need additional attention. Remove painter’s tape carefully to avoid damaging the newly finished surfaces. Clean up your workspace by disposing of used materials properly and storing leftover supplies for future use.
Cost Considerations
The cost of refinishing kitchen cabinets as a part of a kitchen remodeling project can vary based on factors such as the size of your kitchen, the quality of materials used, and whether you choose to hire professionals for certain tasks. As a DIY project, refinishing cabinets can be significantly more affordable compared to replacing them entirely, with potential savings ranging from hundreds to thousands of dollars.
Refinishing kitchen cabinets is a rewarding DIY project that can transform the look and feel of your kitchen. By following these step-by-step instructions and investing time in careful preparation and execution, you can achieve professional-quality results without the expense of a full kitchen remodel. Whether you opt for staining to enhance the natural beauty of wood or painting to introduce a fresh new color scheme, refinishing cabinets allows you to personalize your kitchen space while adding value to your home.
