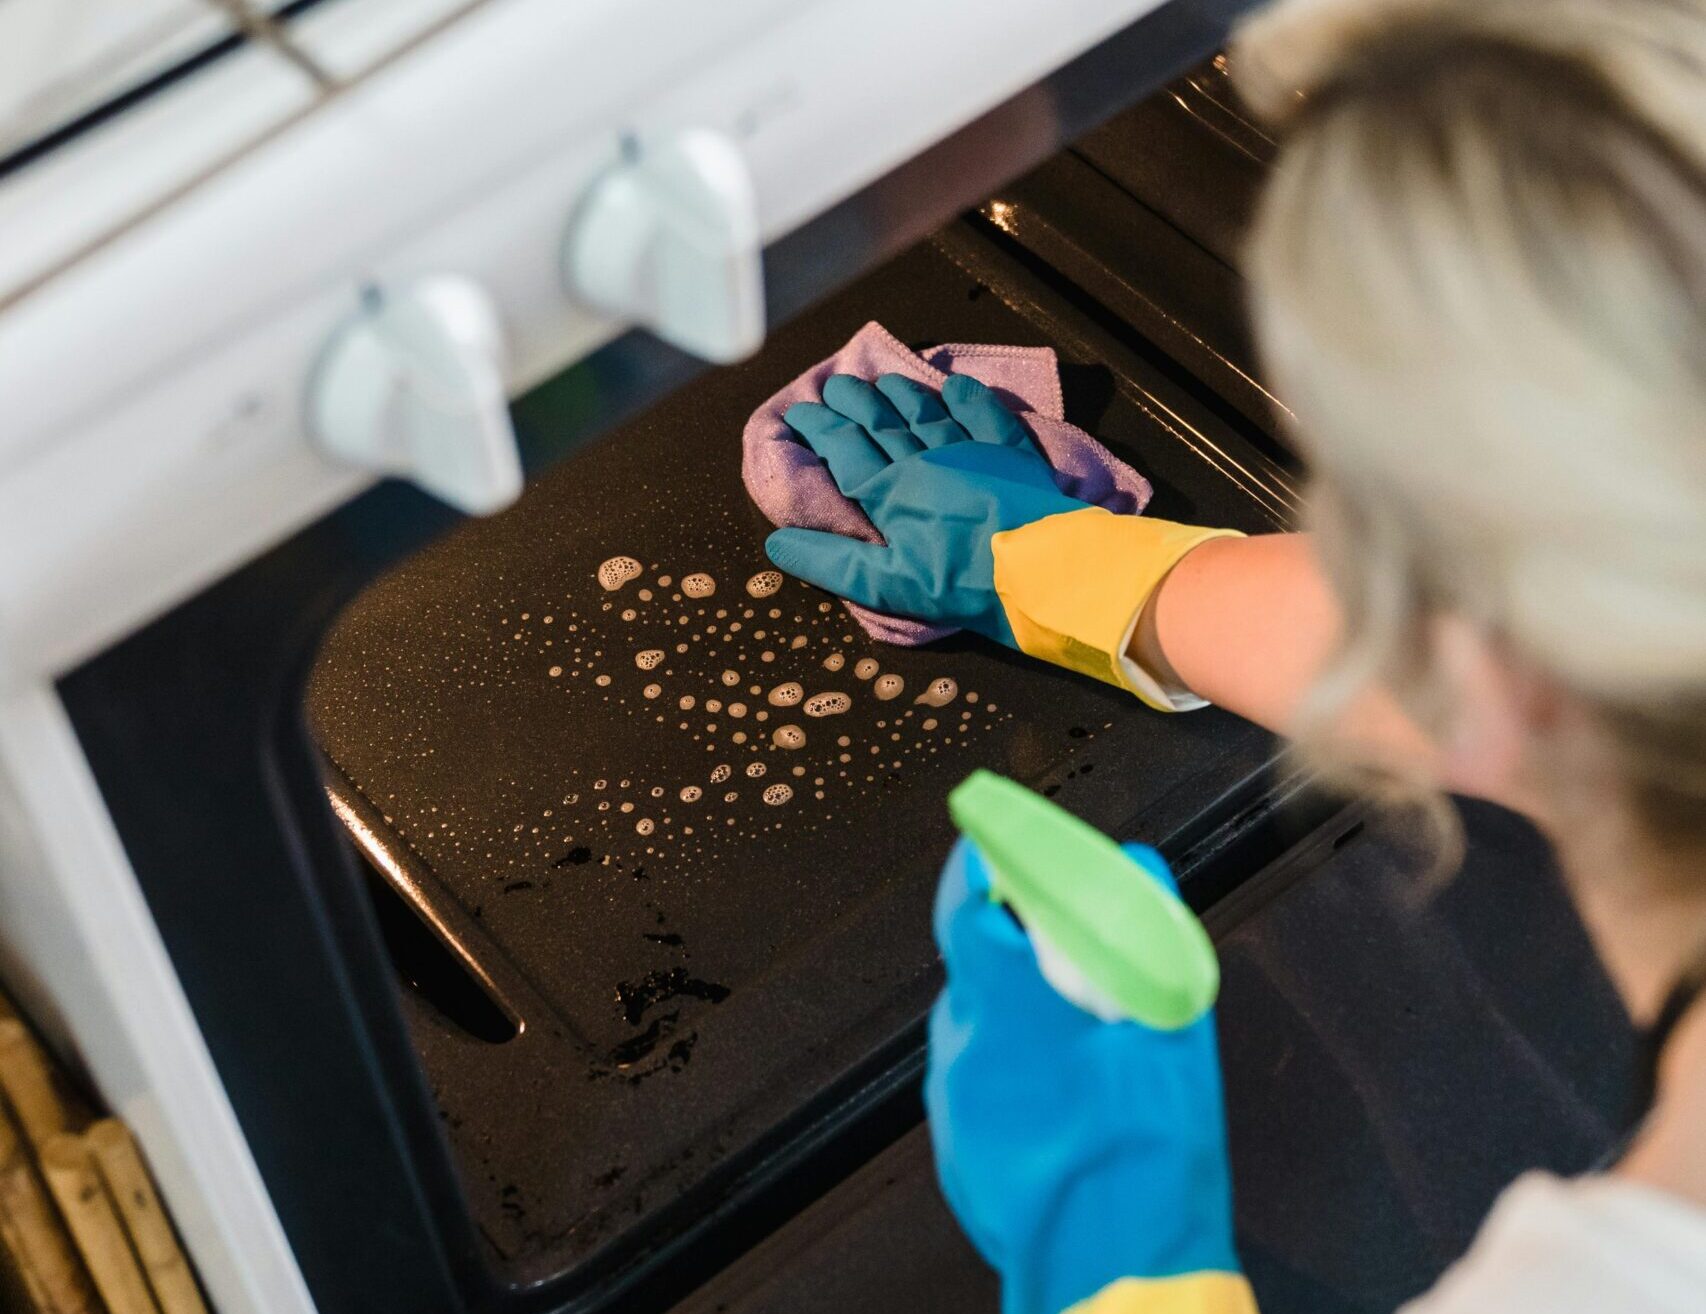
How to Safely Clean Your Oven
Regularly cleaning your oven isn’t just about keeping it looking nice—it’s essential for safe cooking and making sure it lasts longer. Built-up grease and food bits can affect how your oven heats up, causing problems like smoke or bad smells while cooking. It’s also safer to cook in a clean oven because there’s less chance of smoke or grease causing a fire. Cleaning out grease and food bits helps your food cook evenly and reduces the risk of any leftover stuff getting into your meals. Plus, keeping your oven clean prevents rust and damage inside, extending its useful life. Taking the time to clean your oven well not only makes it work better but also keeps your kitchen healthier for cooking meals. This guide offers a comprehensive approach to safely and effectively cleaning your oven, inside and out.
Exploring Your Oven’s Self-Cleaning Capabilities
Modern ovens often feature a self-cleaning function that uses high temperatures to burn off food residues. This feature can be convenient and effective, reducing the need for manual scrubbing. The self-cleaning cycle typically lasts between 2 to 4 hours, during which the oven heats up to around 900 degrees Fahrenheit to incinerate grease and food debris. It’s best to run the self-cleaning cycle when you can ventilate the kitchen adequately and when you’re home to monitor the process. However, be cautious: the high temperatures involved can produce smoke and strong odors, so ensure good ventilation and keep pets and children away from the kitchen during this time.
How to Clean the Inside of Your Oven
Cleaning your ovens interior requires thoroughness to remove baked-on grease and food residues. Start by removing racks and trays to access all surfaces. Commercial oven cleaners are effective but can contain harsh chemicals, so ensure the area is well-ventilated and wear protective gloves. Apply the cleaning agent to interior surfaces, focusing on areas with stubborn stains, and let it sit for a while before wiping clean with a damp cloth. Rinse thoroughly to remove any residue.
Creating Your Own Oven Cleaner at Home
For those preferring natural alternatives, homemade oven cleaners can be just as effective. Mix baking soda with water to form a paste, then add vinegar or lemon juice for extra cleaning power. These ingredients break down grease and grime without leaving harmful residues behind. Apply the paste to the interior surfaces of your oven, including the door and racks, and let it sit for several hours or overnight. Scrub gently with a sponge or cloth, then rinse thoroughly with water. This method is safe, cost-effective, and environmentally friendly.
How to Clean Your Oven Door Glass
Cleaning oven door glass requires careful attention to remove grease, stains, and residue without scratching the surface. Start by removing any loose debris with a damp cloth. For stubborn stains, you can use the same combination of baking soda and water, apply it to the glass, and let it sit for 15-20 minutes before scrubbing gently with a non-abrasive sponge or cloth. For the exterior glass, use a glass cleaner or vinegar solution for a streak-free finish. Of course, you’ll want to avoid using abrasive cleaners or tools that could scratch the glass.
How to Clean Your Oven’s Racks
Oven racks can accumulate baked-on food and grease over time, requiring thorough cleaning. Remove racks from the oven and soak them in hot, soapy water for at least an hour to loosen residue. Scrub racks with a non-abrasive sponge or scrubbing pad to remove residue, then rinse thoroughly with water and dry before placing them back in the oven.
Putting on the Finishing Touches
After cleaning your oven, it’s essential to ensure all surfaces are thoroughly dry to prevent rust and maintain cleanliness. Use a clean, dry cloth to wipe down interior surfaces, including the door and control panel, then, polish the oven door glass with a glass cleaner or vinegar solution for a sparkling finish.
Oven Maintenance Essentials
Regular maintenance helps prolong your oven’s lifespan and keeps it looking its best. Regularly check the seals and gaskets on your oven for any signs of wear or damage. These parts help control the oven’s temperature and how efficiently it uses energy. Fix any problems right away to prevent expensive repairs and to make sure your oven cooks evenly every time. By taking these simple steps to care for your oven, you’ll keep it running smoothly and cooking delicious meals for many years.
Does Your Oven Need Replacing? We Can Help!
While you are sure to find the tips in this article helpful if your oven is still in working order, you may be looking for a different solution if your oven needs more than a good cleaning. Replacing your oven is just one of the many factors and costs to consider if you’re renovating your kitchen. Fortunately, we at Remodeling.com are here to help. Whether you’re looking for straightforward handyman services or planning a larger remodel, we can connect you with experienced contractors in your area who can help enrich your homeownership experience. Get started today!
