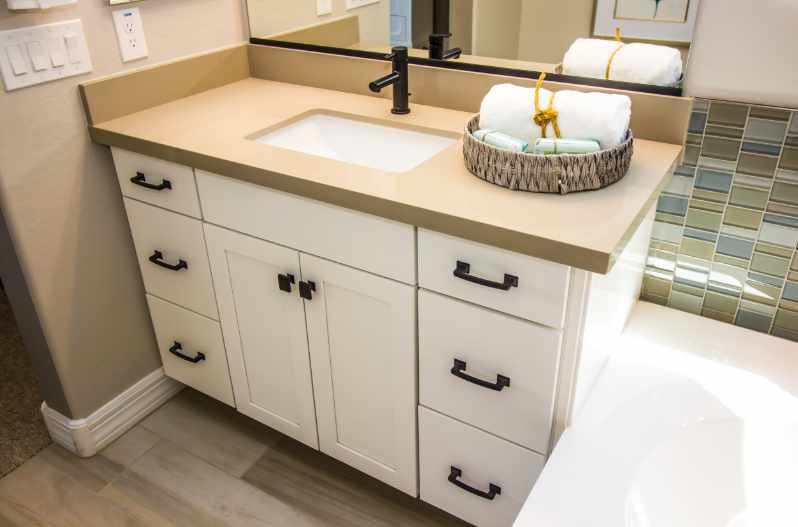
How To Remove a Bathroom Vanity
Looking for a cost-effective bathroom update? Removing your vanity and installing a new one is an easy and affordable update you can make on your own. However, removing a bathroom vanity does take a few tools and at least some basic plumbing know-how. Here are the step-by-step instructions for how to remove a bathroom vanity.
Steps for Removing a Bathroom Vanity
Although it can be challenging to remove a bathroom vanity, it only takes a few tools and a little bit of time. Follow these simple steps to easily remove a bathroom vanity and begin planning your new one.
Step 1: Turn Off the Water
Before you start working on the vanity, you need to turn off the water supply to the sink. Look for the shutoff valves under the sink and turn them clockwise to shut off the water. If you cannot find the shut-off valve under the sink, you can also turn off the main water supply.
With the water off, open the faucet to drain the water. This will prevent you from making a mess when you disconnect the plumbing. If you have separate hot and cold water knobs, turn them both on. If you have a single knob, turn it on cold and then twist it to hot.
Step 2: Disconnect the Plumbing
After draining the water lines, you can disconnect the plumbing. Use an adjustable wrench to loosen the nuts that connect the water supply lines and the drain pipe to the sink. Then loosen the faucet and remove it from the sink.
Before you loosen the drain pipe connection, put a bucket under the trap. Otherwise, you can spill water in the vanity. Then remove the drain pipes from the sink drain. Depending on your sink and vanity configuration, the pipe will either go into the wall or the floor.
Depending on the style of your cabinet, it is helpful to remove the vanity doors and drawers first. This makes it easier to get inside the vanity and work on the supply lines and drain pipes.
Step 3: Remove the Sink
Next, you need to remove the sink from the vanity. Most bathroom sinks are screwed into place and some are also glued in place with either caulk or construction adhesive.
Use a sharp utility knife to cut away the caulk or adhesive. Then use a screwdriver or electric drill to remove the screws. Carefully lift the sink out of the vanity and set it aside for disposal.
If you have an under-mount sink, have someone hold it in place while you unscrew it. Then remove it through the vanity cabinet.
Step 4: Detach the Vanity From the Wall
With the sink out o the way, you can detach the variety from the wall. Most modern vanities are screwed into the wall.
Remove the screws and pull the vanity away from the wall. If the drain pipe goes through the bottom of the vanity, you may need to lift it straight up first.
However, some older vanities are built into the wall, the floor, or both. This can make removing the vanity much more difficult.
You can use a pry bar and a rubber mallet to help separate it from the wall or floor. Work slowly to prevent damaging other surfaces. Otherwise, you will need to make additional repairs.
Step 5: Remove the Vanity
With the variety detached, you can remove it from the bathroom. In most cases, you can remove it on your own. However, you may need someone else to help if it is particularly large or heavy. If the entire vanity is too large to get through the door, you can cut it up or break it with a hammer as long as you are throwing it away.
Step 6: Patch Holes in the Wall
Finally, you need to patch the holes in the wall. Spread either spackle or joint compound on the wall with a putty knife, filling the holes completely. Then sand the wall after the compound has dried. In some cases, you may need to apply several coats of wall spackle to get a smooth finish.
If the vanity was built into the wall or floor, you may need to make more extensive repairs. This can include more drywall repairs or even installing new drywall or flooring.

Tips for Removing the Vanity in Your Bathroom
While the steps above apply to most vanities, every bathroom is different. Here are some extra tips to make taking out your vanity easier.
Make removing it from the bathroom easier by removing the vanity countertop first. Unscrew the countertop and use a utility knife to cut any caulk or adhesive. Then lift out the vanity countertop.
Use a putty or painters knife to scrap any residual caulk off the wall. You can also use rubbing alcohol to remove construction adhesive. Alternatively, you can sand the area smooth.
If you plan to replace the medicine cabinet or vanity mirror, wait until after removing the vanity itself. With the cabinet out of the way, it is much easier to remove the mirror.
Once you remove the existing vanity, use a stud finder to mark the wall studs. This is much easier to do while the bathroom is empty and it will make installing the new vanity easier in the long run.
